[Main] [About] [Characters] [Structures] [Story] [Glossary] [Links]
Under Construction
|
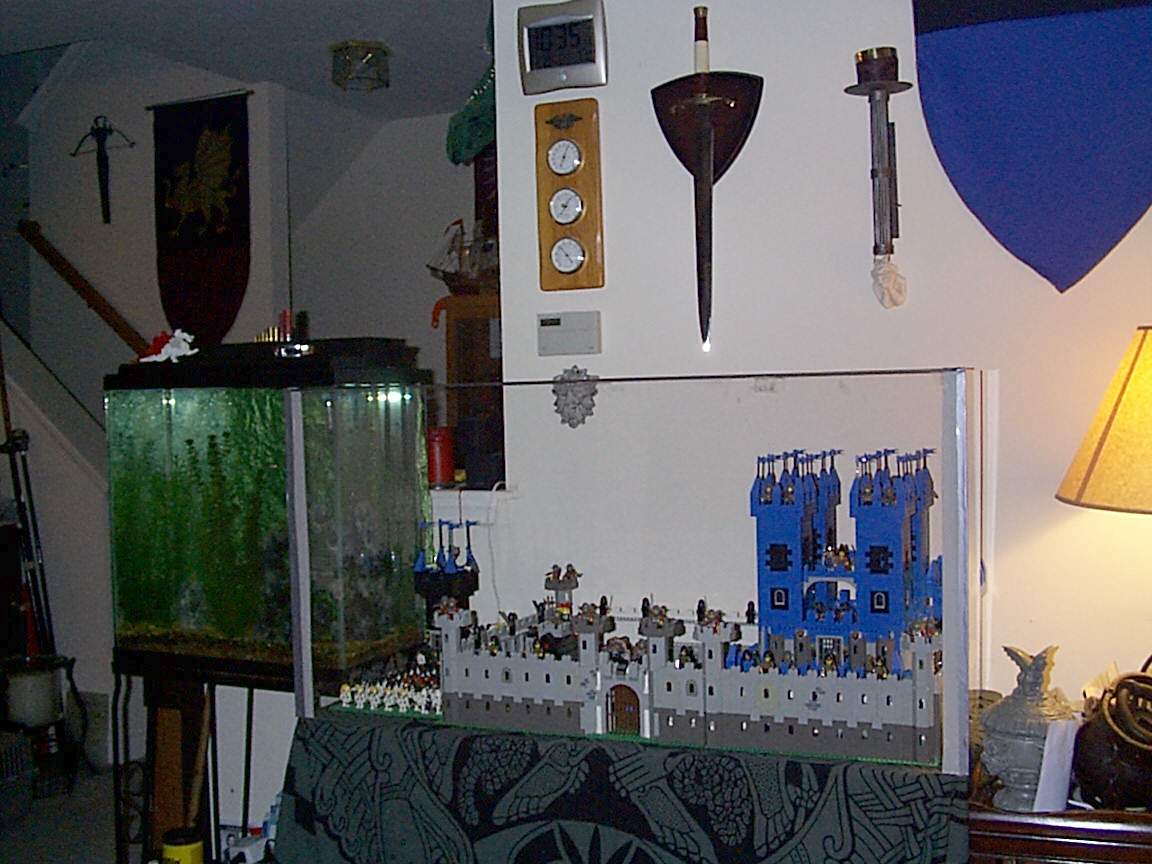
This page shows the evolution of my castle model. It's been dormant for
a while, due to feline interference... I had hoped that the little cat
would outgrow such overwhelming need to play with my LEGO, but he hasn't,
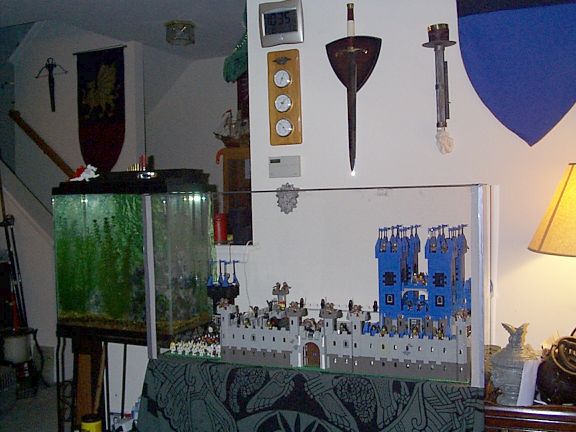
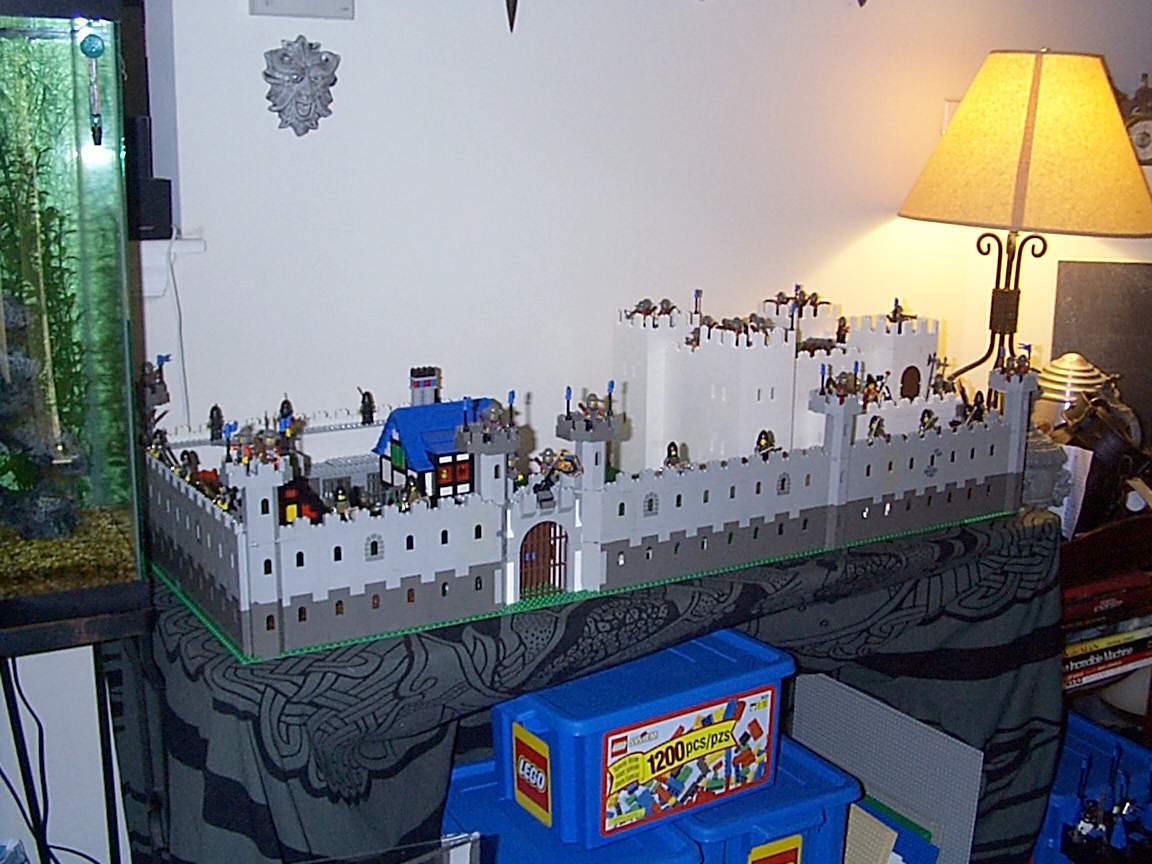
so now I've built a plexiglas barrier (shown in one of the pictures below).
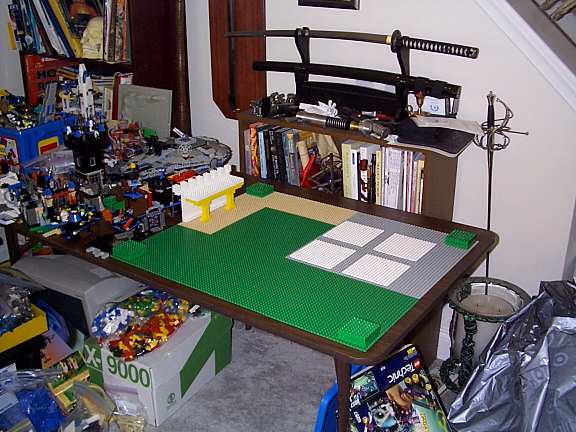
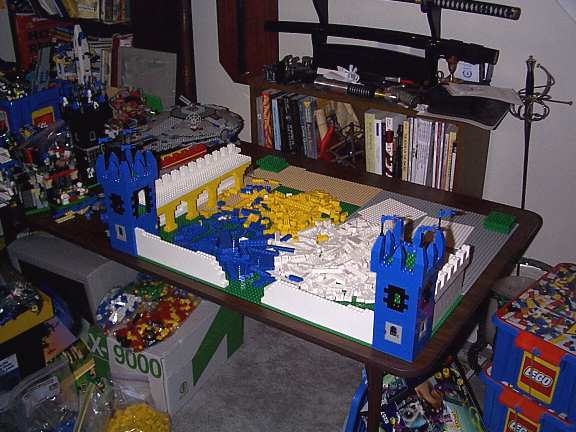
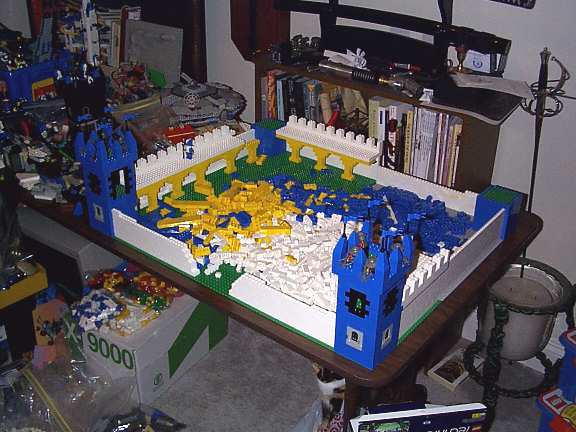
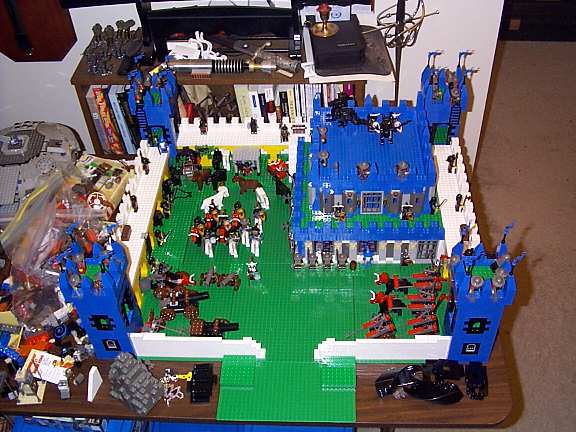
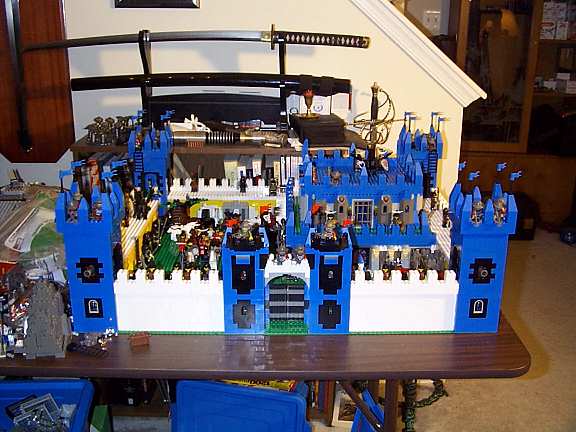
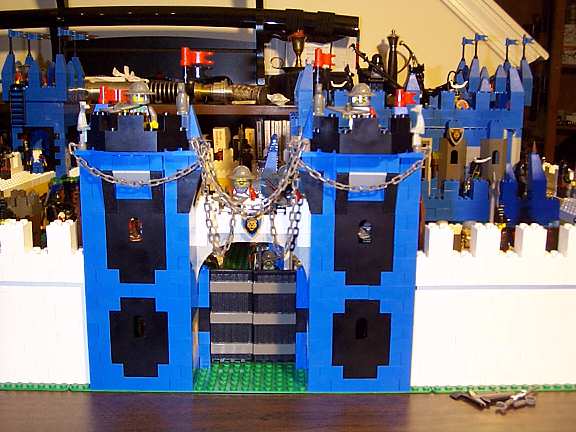
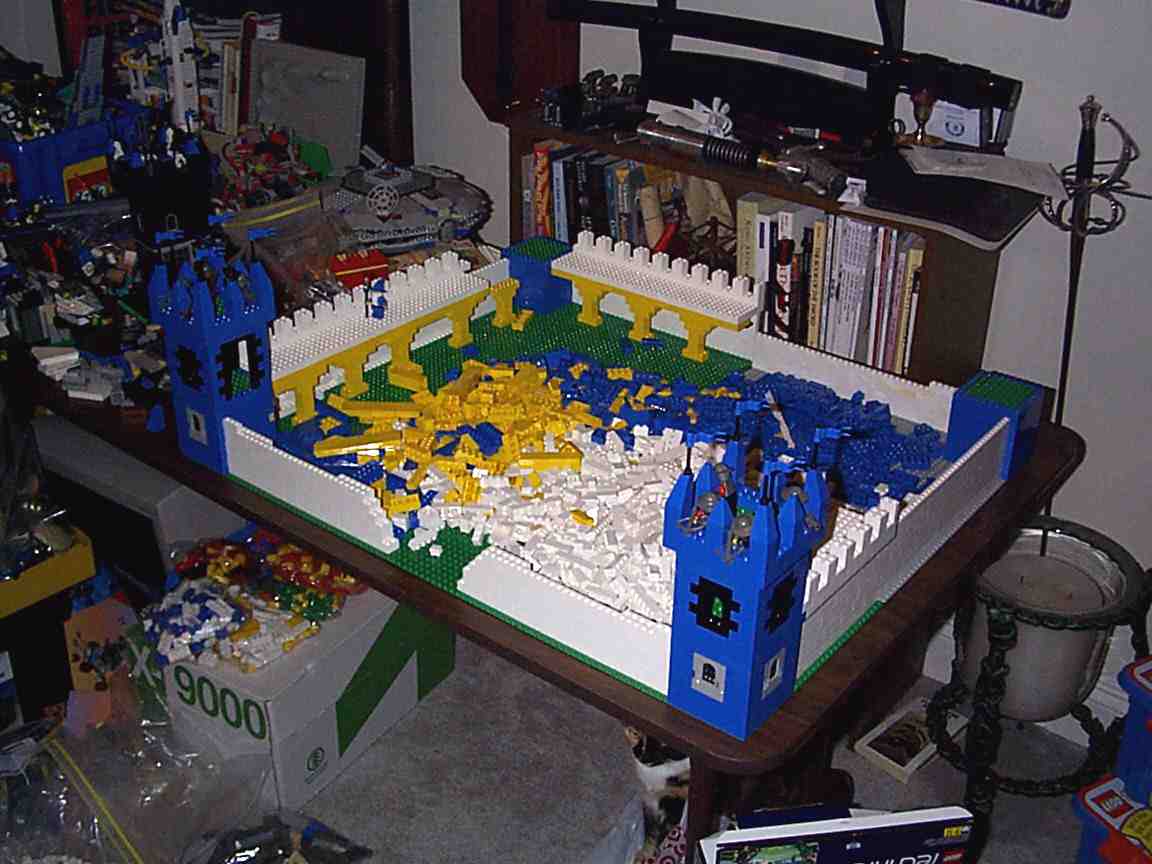
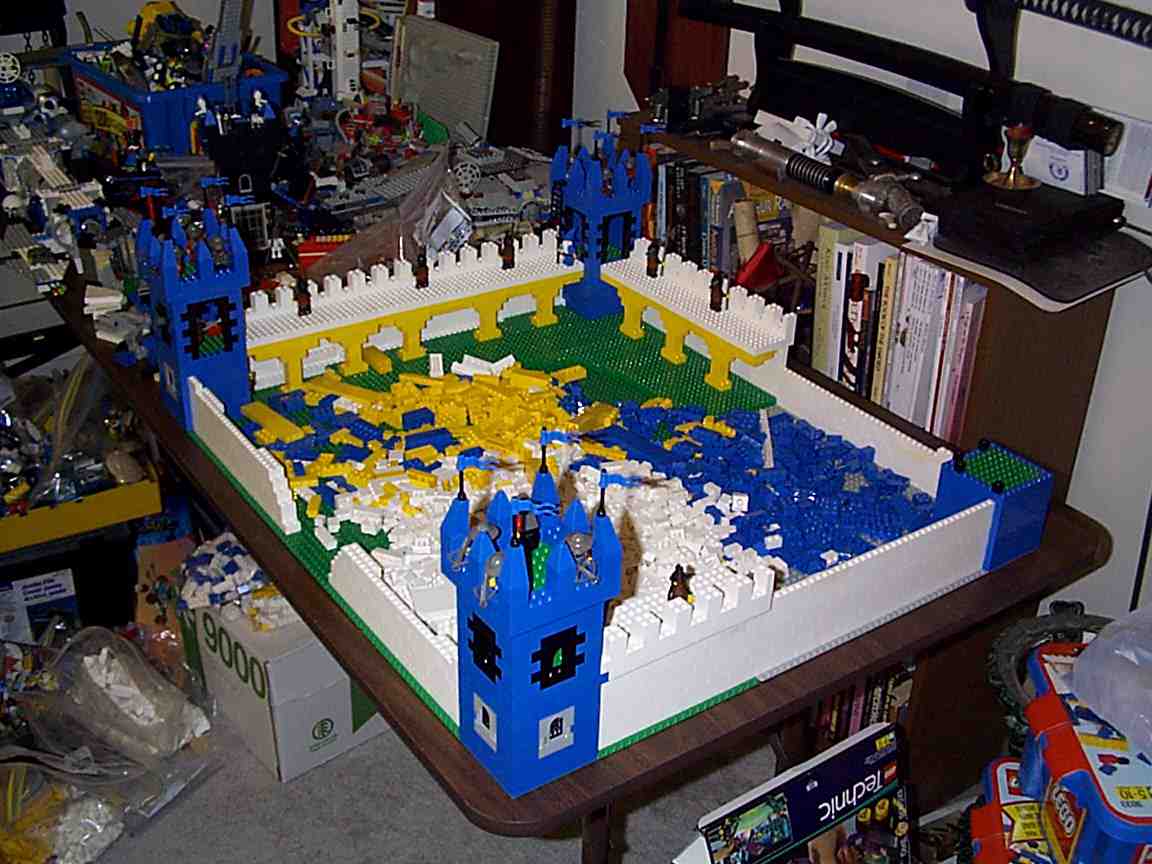
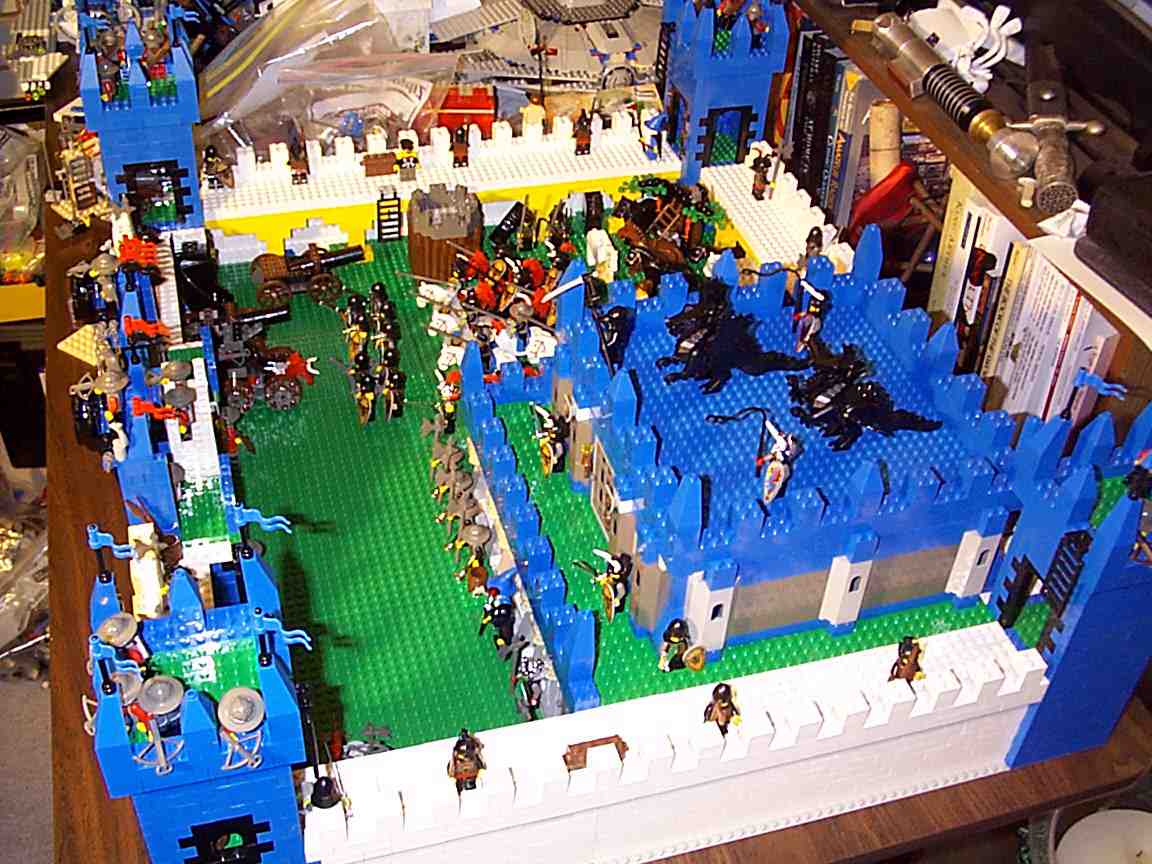
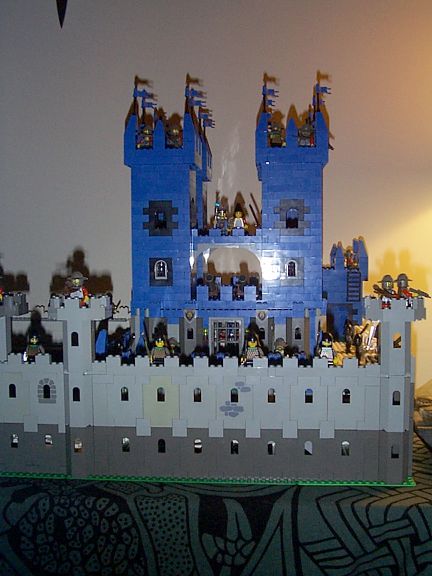
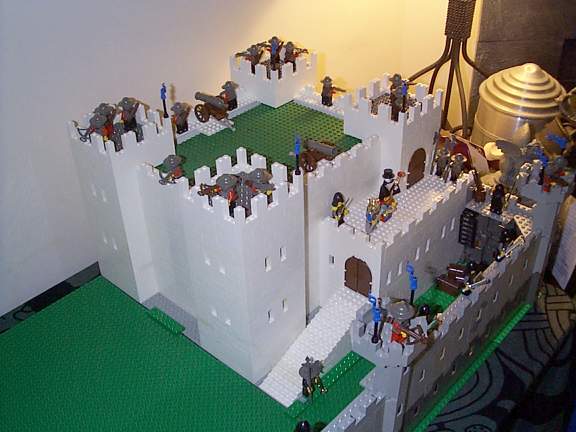
CASTLE 1 Interesting note- The towers and castle walls (except the front one) were built without the aid of plate/flat pieces. It was all basic bricks, with some arches for the doors/windows, and the sloped pieces to cap the merlons on the battlements. Why no plates? Because I didn't have very many of any significant size in the same colors. I wanted a wide "functional" walkway in a consistent color, and with a wall structure that is easily scalable (meaning, all I needed to do is buy more blue tubs (#3033) to add more wall). The castle may look somewhat simplistic in design compared to a lot of the large castle MOCs ("my own creation") made by many AFOLs ("adult fan of lego"). This is deceptive to a degree. One reason is that there were some interesting design challenges in the wall structure. Without plates, getting a 6-stud-wide walkway plus a 2-stud-thick battlement to stay up and stay strong was difficult, especially with the hollow-walls you see (small support culumns under the allures for support and little else). Also, when you look at a lot of castles made with the standard "castle wall" pieces, the small windows and the common usage of grey 1x2 bricks for battlement merlons gives you a different sense of scale. It looks more detailed, so it looks bigger. I opted instead to use large battlement blocks so they'd look functional (the question is whether someone can hide behind a merlon or not), even though it looks less detailed and less refined. Oh well. :) I also wanted a large empty courtyard, even though that too looks less detailed. No pictures of the interior have been made yet, which only had minor detail anyway. A throne-room with thrones, and torch-holders on the columns... a small kitchen, and a storage room. |
| Castle 1 (80x96 studs) | |
 Small, Large. Small, Large. |
 Small, Large. Small, Large. |
 Small, Large. Small, Large. |
 Small, Large. Small, Large. |
 Small, Large. Small, Large. |
 Small, Large. Small, Large. |
 Small, Large. Small, Large. |
 Small, Large. Small, Large. |
 Small, Large. Small, Large. |
, . |
|
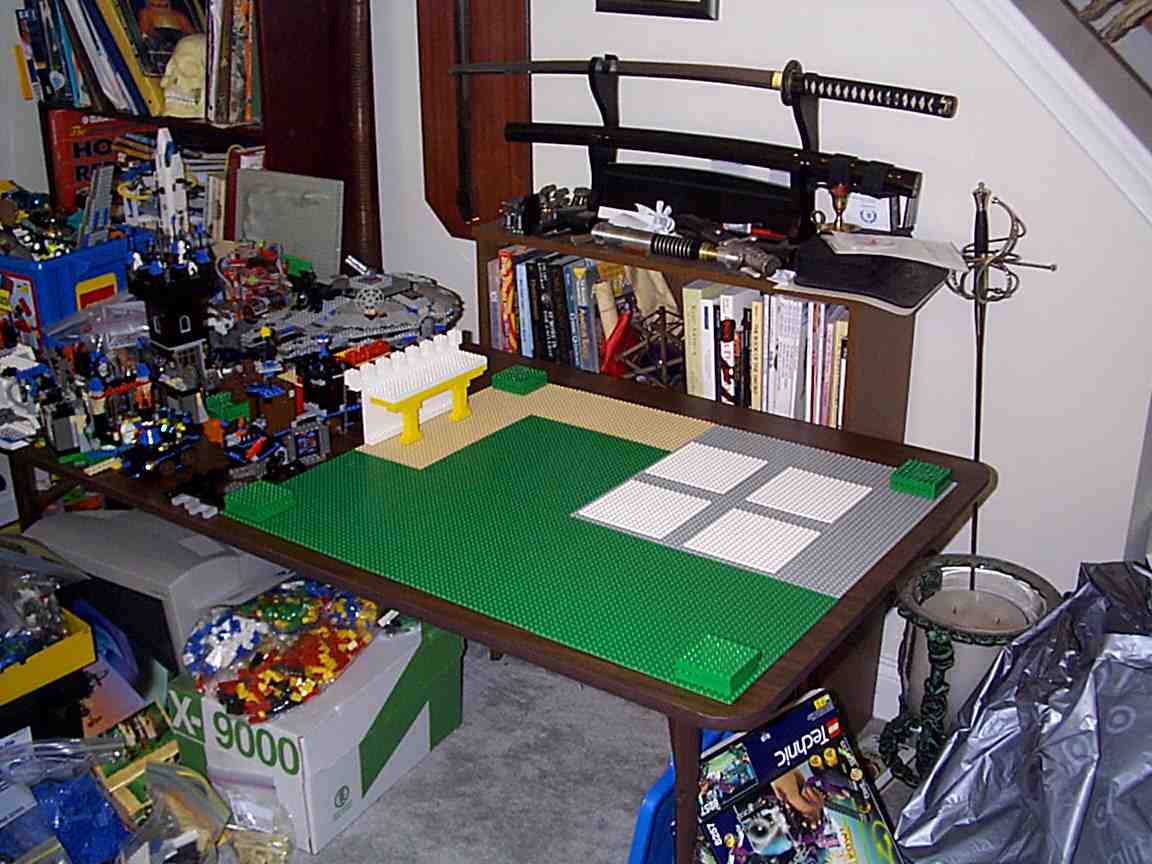
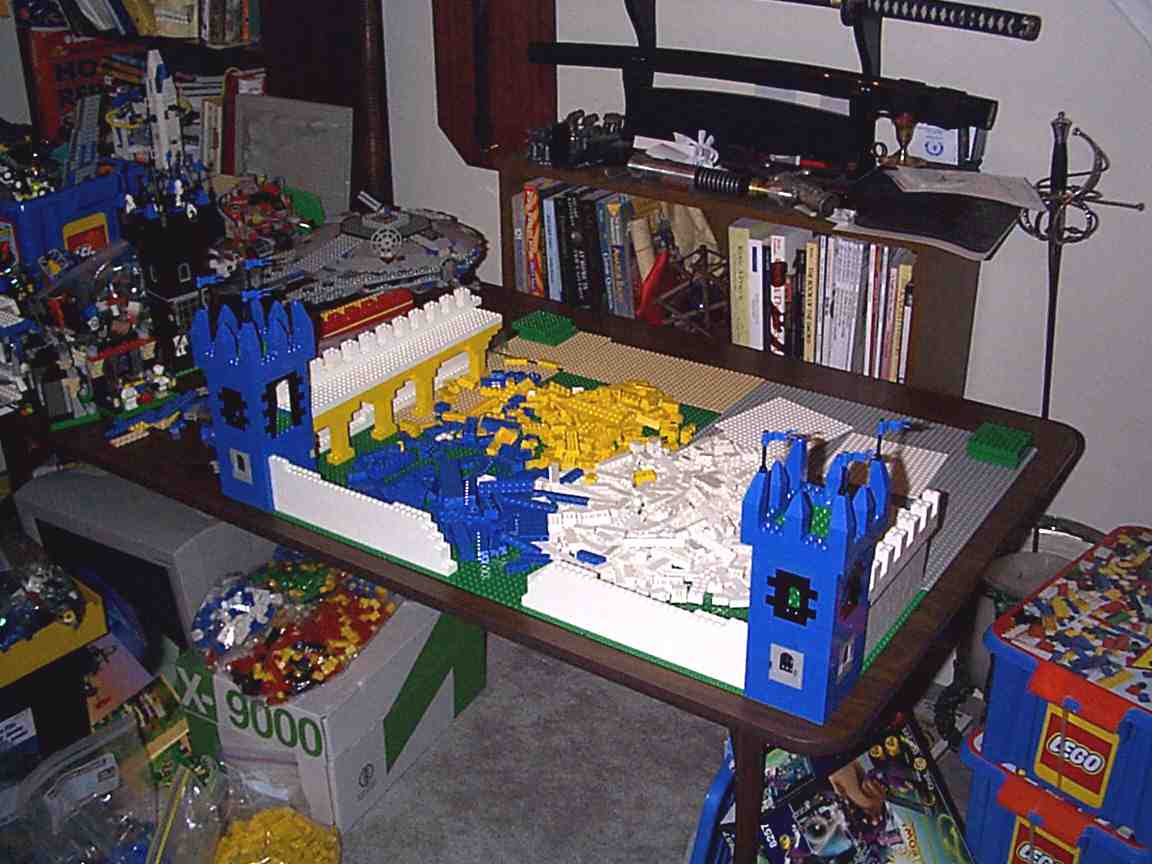
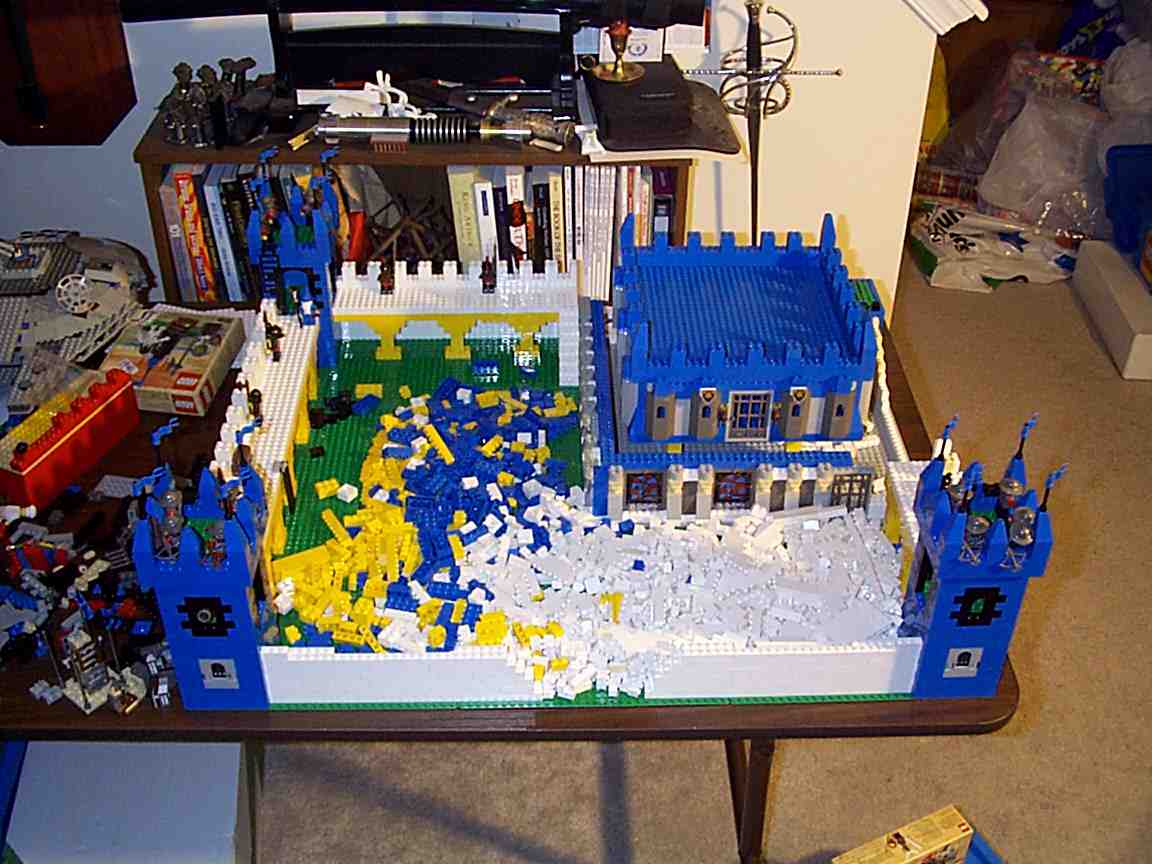
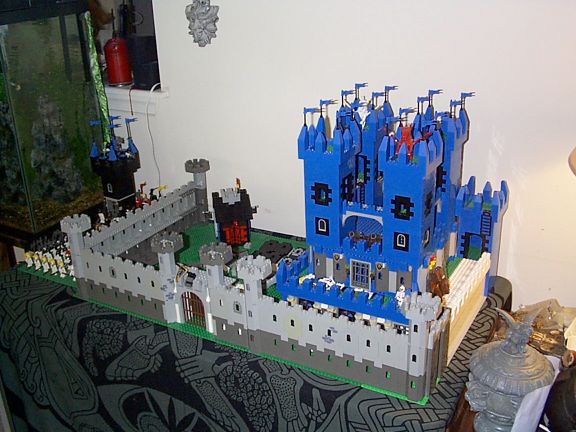
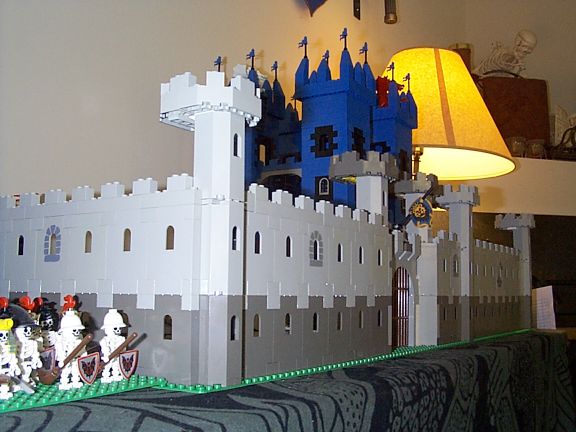
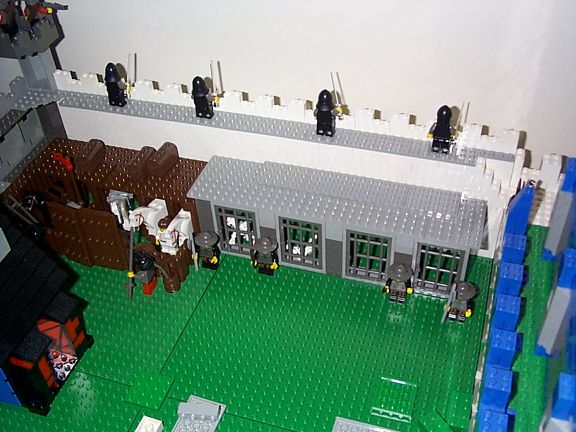
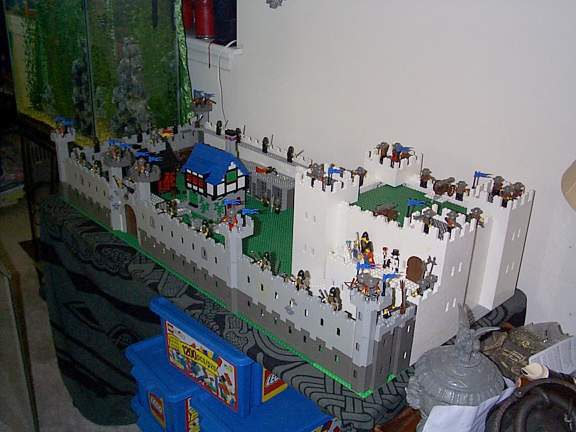
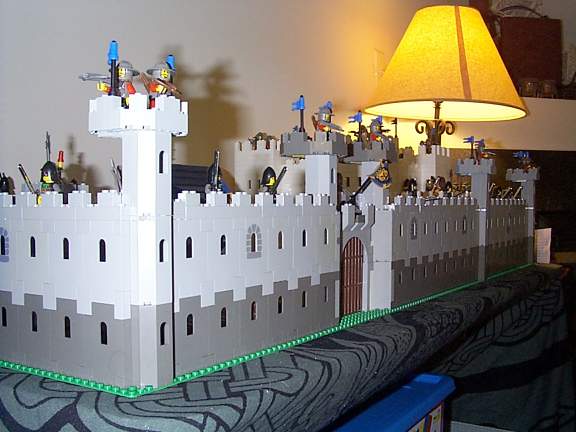
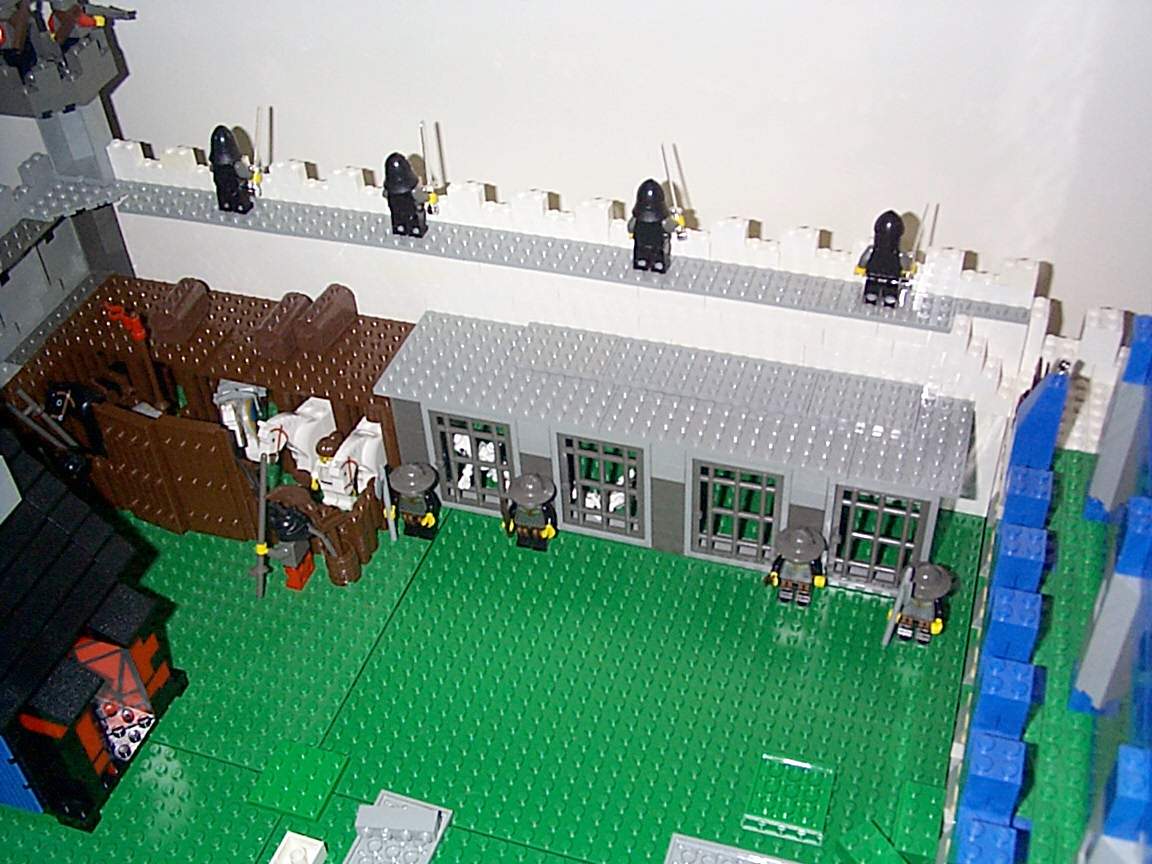
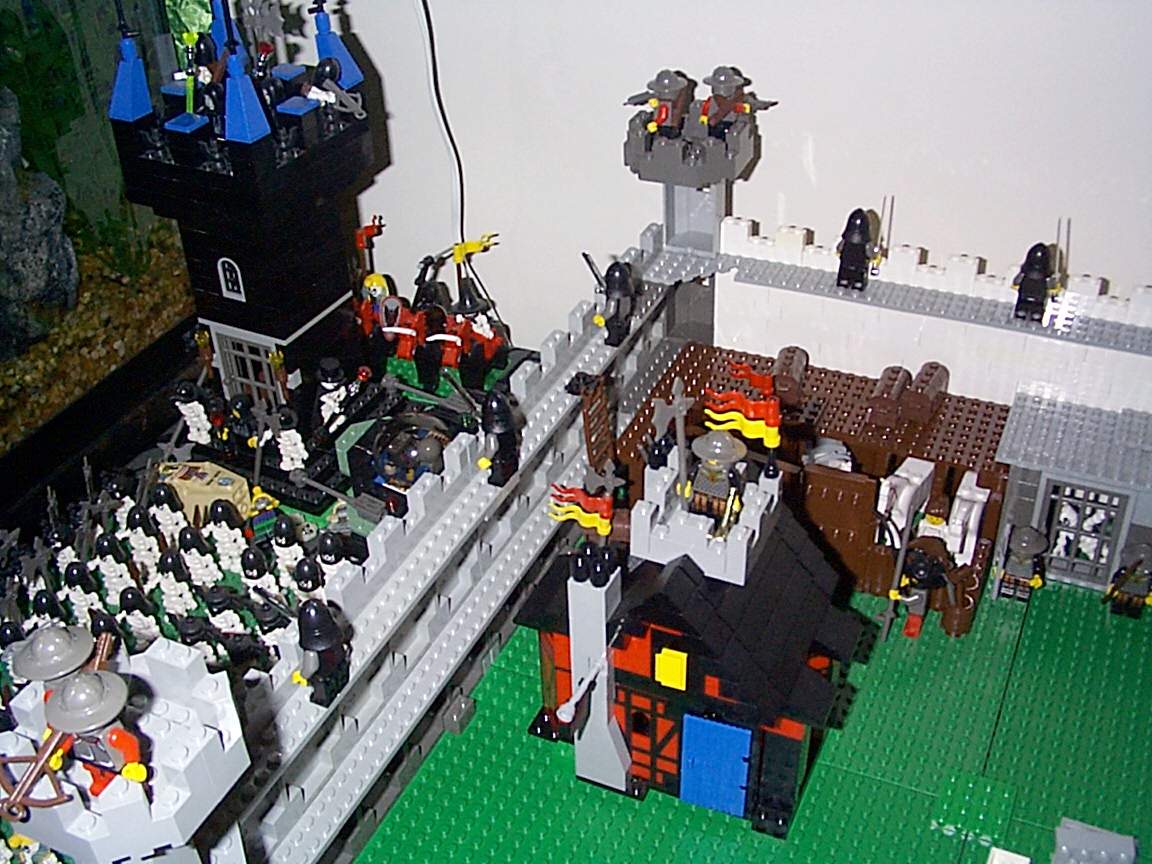
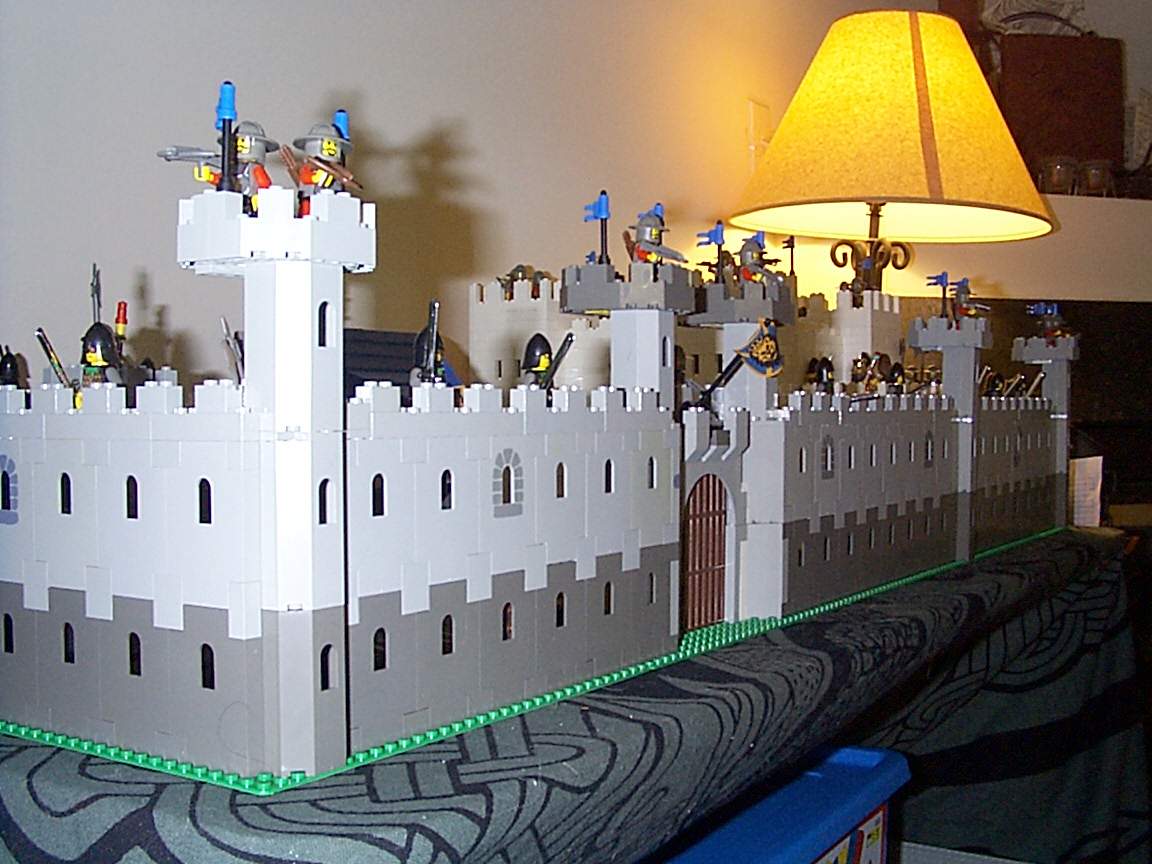
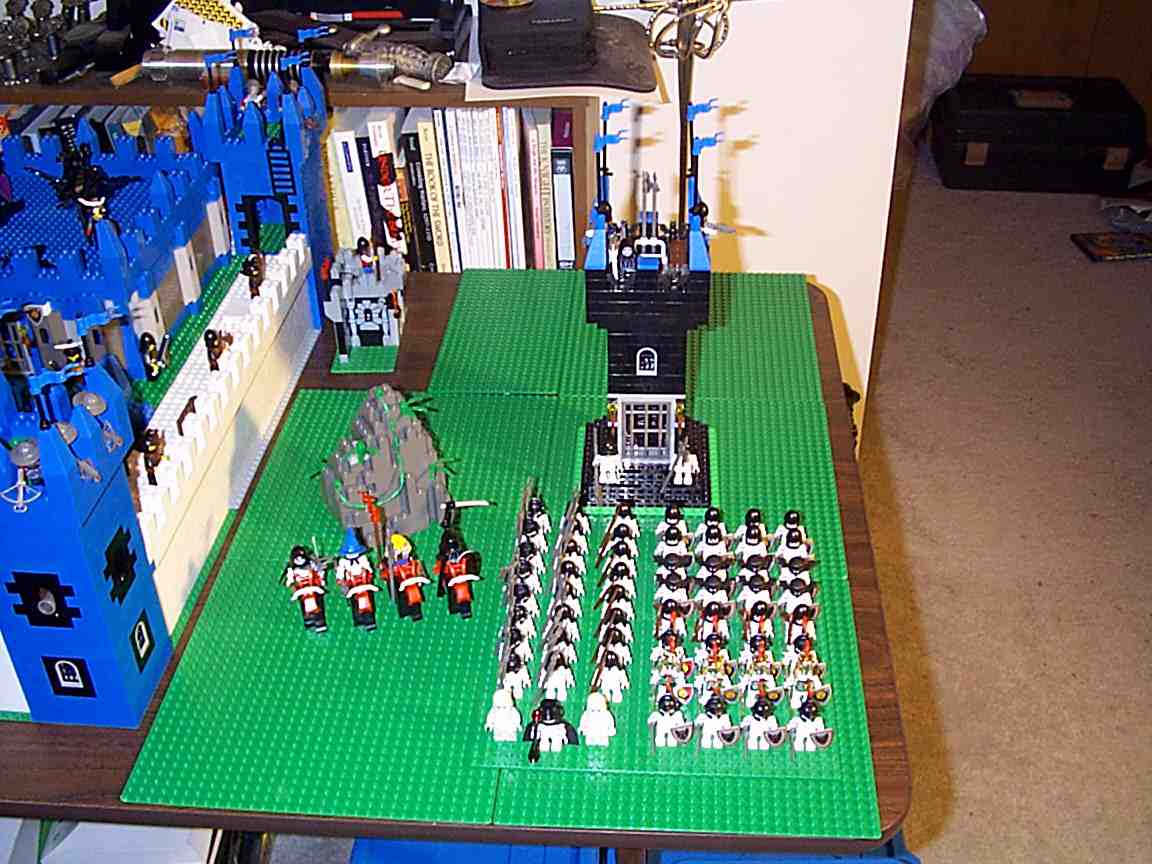
CASTLE 2 For the second incarnation of the castle, once I was able to resume construction with a means to keep the cat out of it, I decided at first to maintain the old keep and replace the curtain wall and courtyard. I took the old corner towers and integrated them into the keep. While I liked this modified keep as it was, it clashed in color and design against the new curtain wall, so I wanted to create something a little more historical and understated. The new keep is shown in the later pictures. This castle is using a completely different design philosophy, since my collection of parts grew significantly, and I wanted something with more visual detail. The first six pictures show the new castle with the old keep, and at the original length I was going to build it at (112 studs long). After that, additional wall was added (total length 144 studs) [additional pictures yet to be added]: |
| Castle 2 (64x144 studs [64x112 in the first six pics]) | |
 Small, Large. Small, Large. |
 Small, Large. Small, Large. |
 Small, Large. Small, Large. |
 Small, Large. Small, Large. |
 Small, Large. Small, Large. |
 Small, Large. Small, Large. |
 Small, Large. Small, Large. |
 Small, Large. Small, Large. |
 Small, Large. Small, Large. |
 Small, Large. Small, Large. |
|
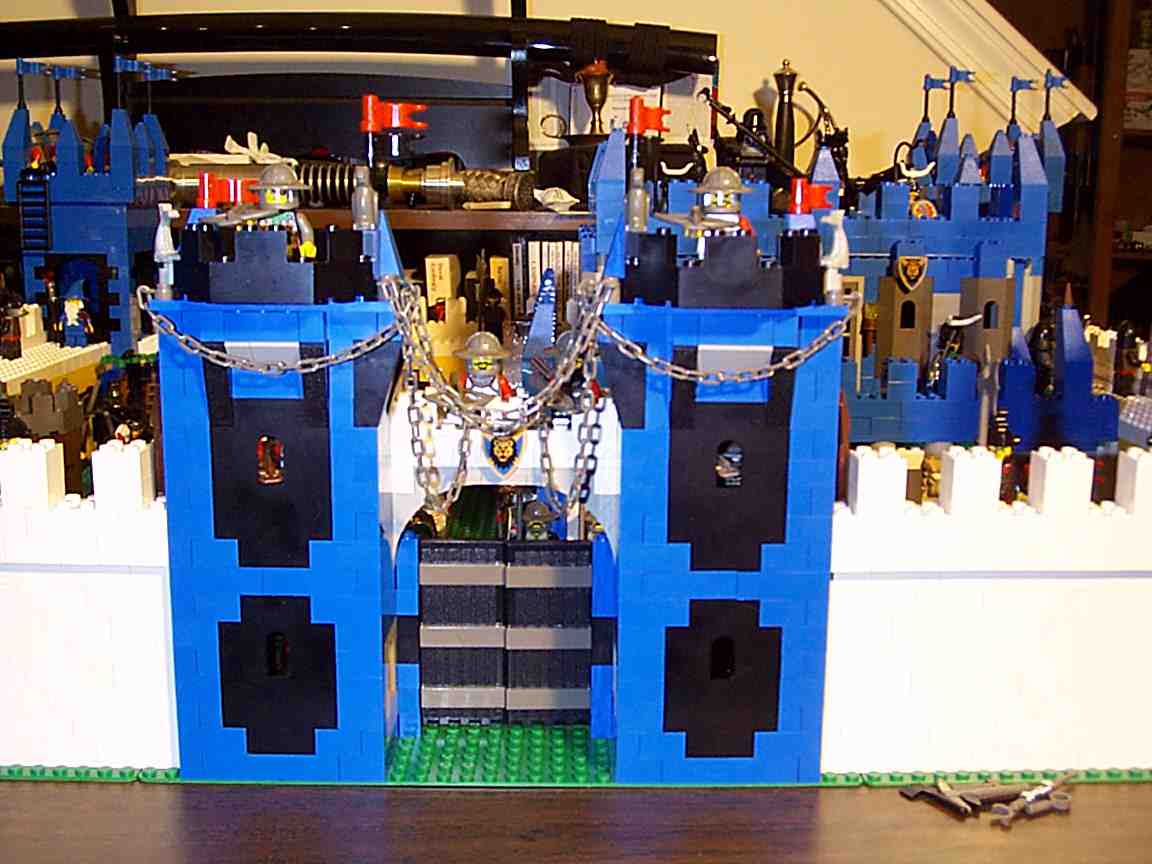
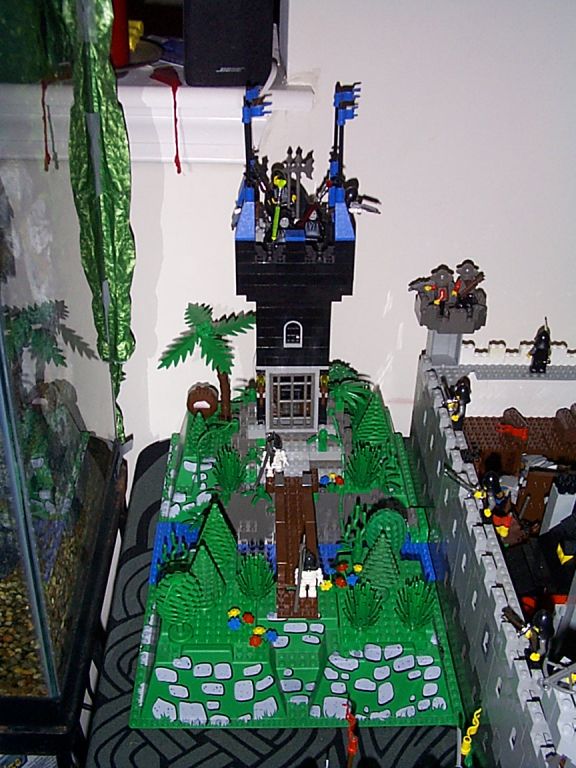
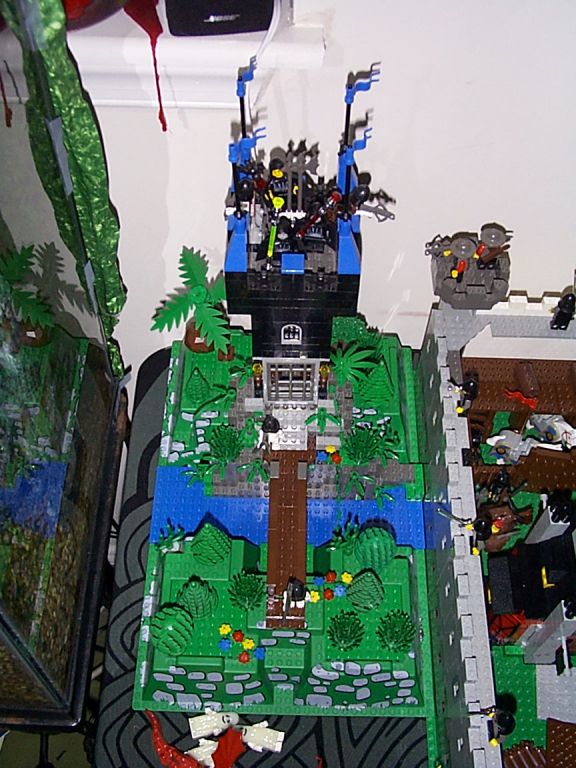
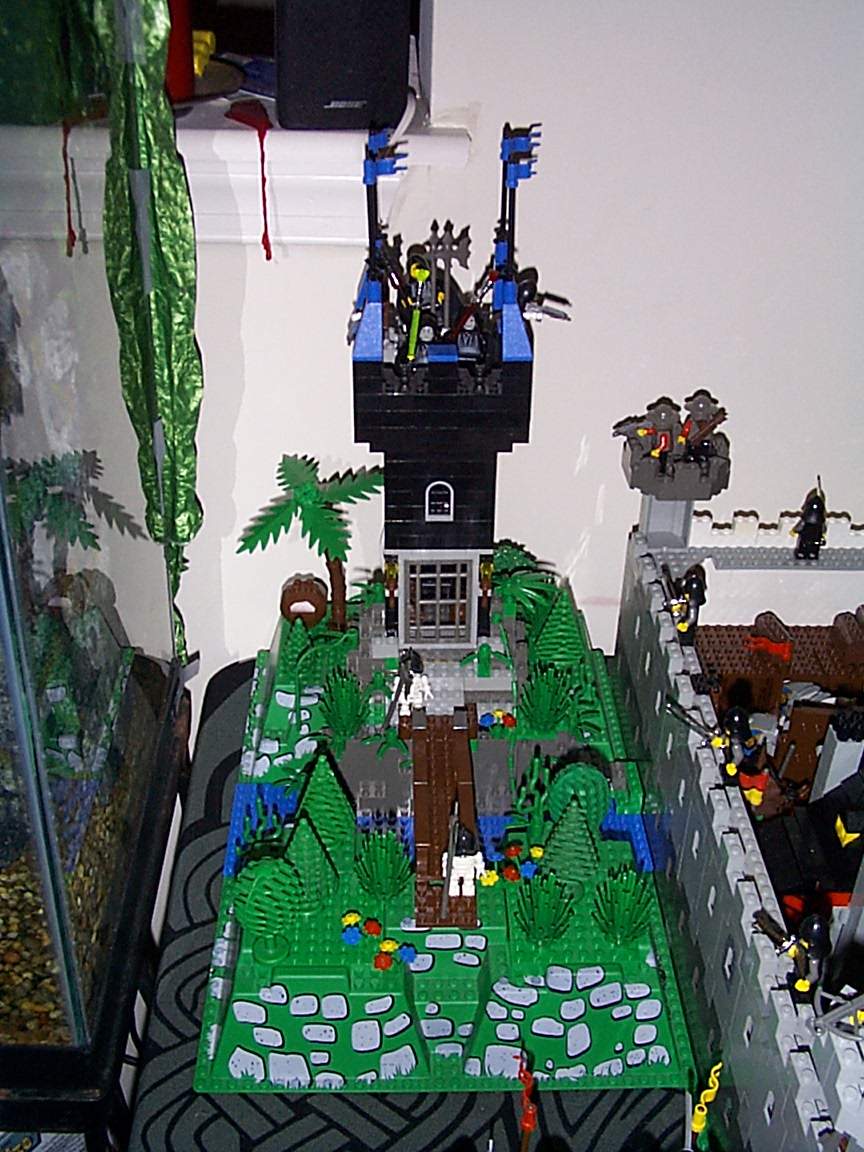
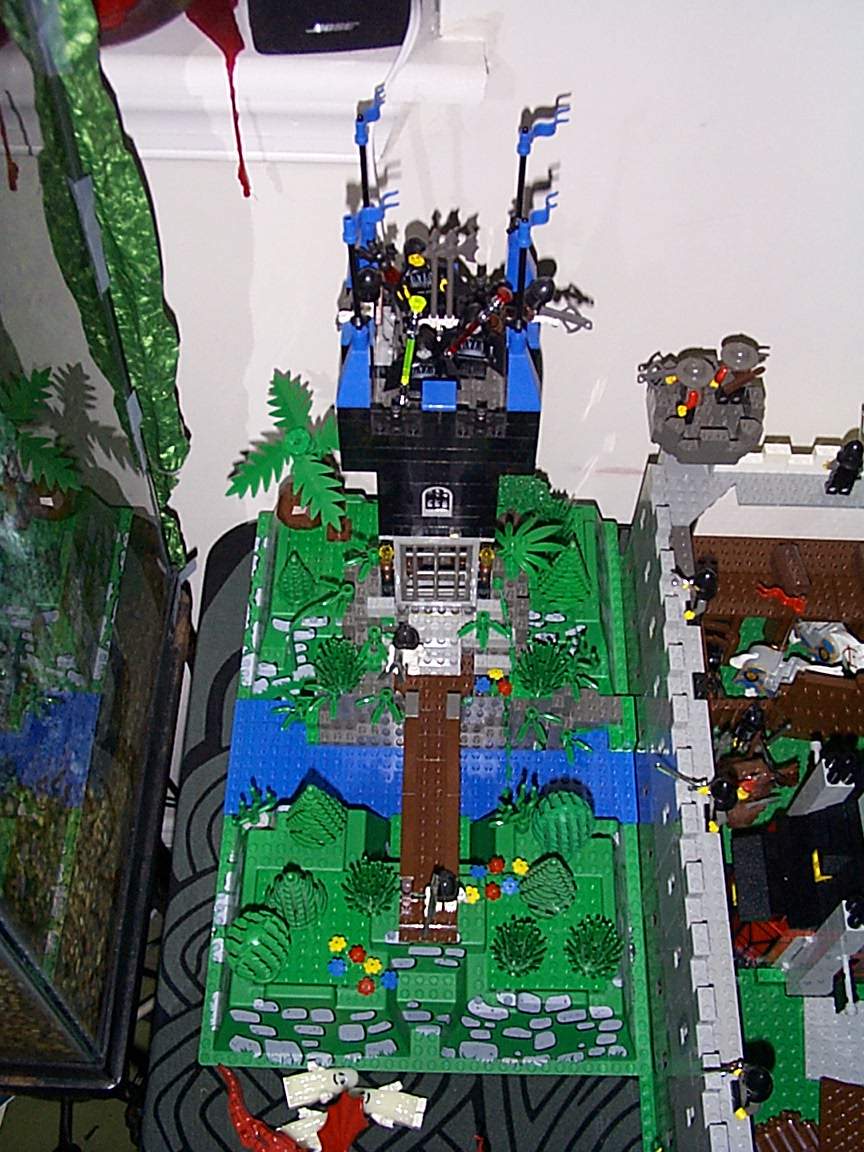
Black Tower The tower was originally intended to be the home of our local liche, Ilrath. It may end up getting repurposed, as the castle is still a work in progress. The pictures don't show the detailed interior. There's a chair and desk inside the second floor, and a panel on the back opens to access that room. The first floor, just inside the door, has a barrel with tools and weapons, and a treasure chest, and a ladder leading upstairs. There's also a ladder continuing up to the roof level, which has a trap-door style hatch to access the roof. |
| Black Tower | |
 Small, Large. Small, Large. |
 Small, Large. Small, Large. |
 Small, Large. Small, Large. |
 Small, Large. Small, Large. |